Turn Photos of Pets Into "Creatures" for Halloween
Use this FREE guide and our Cut-outs to create and share Creatures your friends will love.


All you need is a digital photo and PowerPoint, Keynote or Photoshop.
Share the Love...
Start Here
Let's start with a pet example!
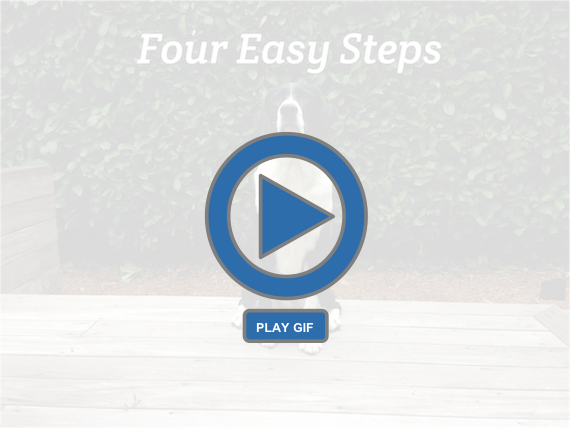
Here's Bosco showing us the entire process in about 20 seconds:

If you prefer text, here are the steps:
- Take or find a digital photo of your pet, friend or family member.
- Insert the image into a Powerpoint slide (or Photoshop).
- Add Creature Cut-outs to the image to bring out the true creature inside.
- Save the new image and share it with the world.
Already good at Photoshop or other photo editing tools?
If so, you can start now. All you need is our Creature Cut-outs. They can be found in the "Get Creature Cut-outs" section of this guide.
NOTE: If you are a current Common Craft member, the entire set of 120+ Creature Cut-outs are included in your membership as a pack.
Ready? It's Photo time!
Find or Take a Digital Photo
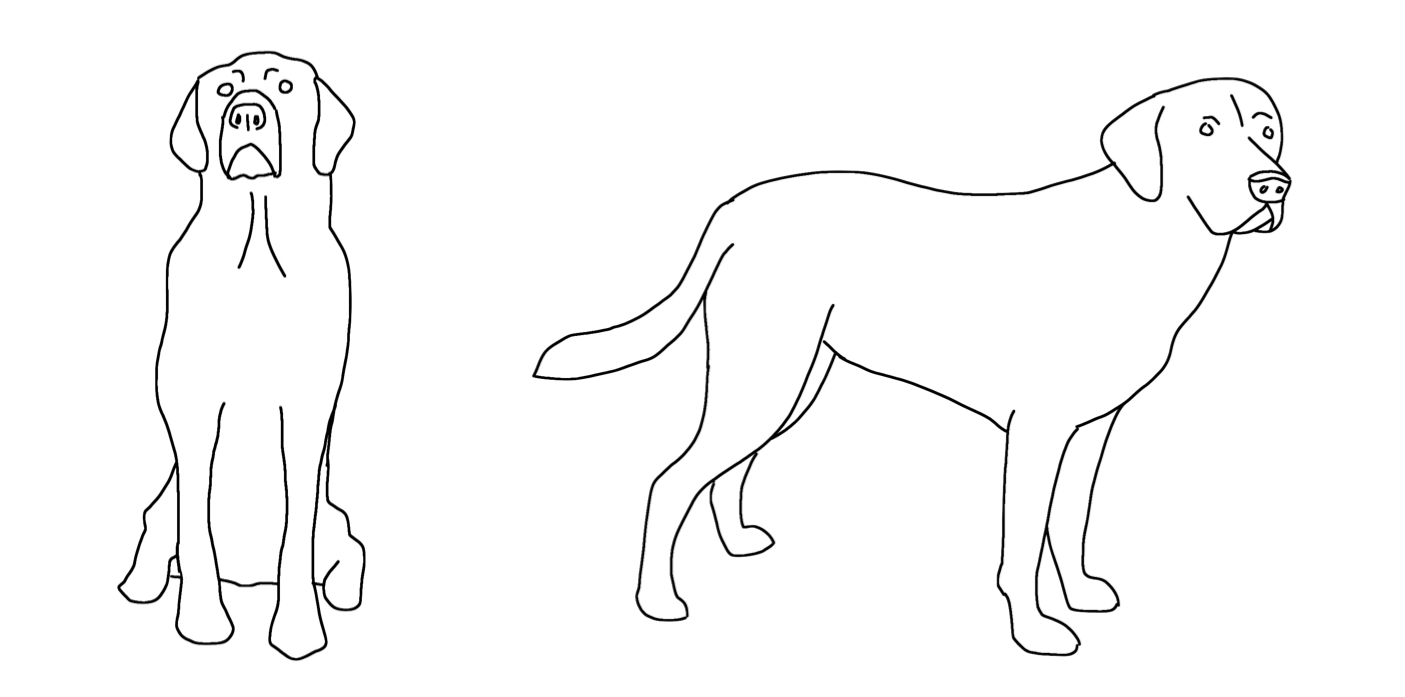
Your Creature will look best with the right kind of photo.
These positions work best for dogs, but almost any position will do.

Already have a good photo?
YAY! Save the image on your computer.
Save the Photos
Now, move the photo from your phone or camera to your computer. Here are a few ways:
- Email - Attach the photo to an email on your phone and send it to an address you can check on your computer.
- Sync with your computer - Connect your phone to the computer just like you would to back it up. Be sure it’s set to back-up photos.
- File sharing - Use Dropbox or other file sharing service.
- Or do whatever you usually do.
Once the photo is saved in your computer, you’re ready for the next step: Get Creature Cut-outs
Get Creature Cut-outs
Get Creature Cut-outs for FREE
Creature Cut-outs are drawings of things like horns, tails, noses and ears that you can use to digitially "dress" your pet. Below you can download them all.
Click Here to Download all 120+ Creature Cut-outs (32mb ZIP)
With Cut-outs in place, it's time to get creative with Powerpoint or Keynote.
Add Your Photo to Presentation Software
The First Step: Add Your Photo
As shown below, you can simply drag-and-drop your photo onto a blank presentation slide. If the image is big, you may need to resize to the size of the slide.

Add and Arrange Cut-outs and Your Photo
Now, let's create some Creatures!
You have two important things in place, your photo and the Cut-outs. Now we’ll combine the two using PowerPoint or Keynote.
The basics steps
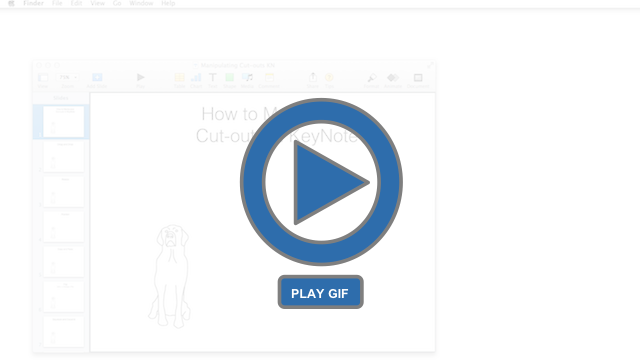
1. Open your presentation software with your photo on a single slide.
2. Open your folder of Cut-outs so that you can see them.
3. Drag the Cut-outs right onto the photo and resize them.
4. Your creature will start to be revealed!
The short animation below illustrates the points above:

Got it? Now let's learn tricks for manipulating Cut-outs so they fit your photo.
Manipulate Cut-outs for Better Creatures
Fit the Cut-outs to your photo
Manipulating Cut-outs with PowerPoint
In the animation below, you'll learn some key features:
- Drag a Cut-out onto a slide
- Resize
- Duplicate
- Flip
- Squeeze and expand
- Rotate

Manipulating Cut-outs with Keynote
In the animation below, you'll learn to:
- Drag a Cut-out onto the slide
- Resize
- Flip
- Rotate

Using the features above you should be able to make your creature shine.
Now it's time to save your Creature as a digital image.
Save Your Creature as an Image
Your Creature is looking awesome. Now it's time to save and share it.
There are two options for saving your creature as an image:
- Take a screenshot of your creature
- Save an image via PowerPoint or Keynote
1. Take a Screenshot of Your Creature
Screenshot or "screen capture" tools are very popular and easy to use. They simply take a digital picture of anything that appears on your computer screen. All you have to do is open the presentation slide and snap a picture of your Creature as a digital image. Below are a few options:
Mac:
Macs come with screen capture tools built-in. To enable the tool, use the keyboard combination below. Once you select an area to capture, the image will be saved to your desktop.
Command + Shift + 4
PC:
Windows also comes with built-in screencapture tools, but I don't recommend them for this situation. Instead, try one of the free tools below for Mac or Windows:
2. Save an image via PowerPoint or Keynote:
Use PowerPoint to save a slide as an image:
- Open the slide with your Creature
- Select all the images on the slide at once (CTRL/Command + A)
- Right-click and select "Save as Picture"
- Save the image on your computer
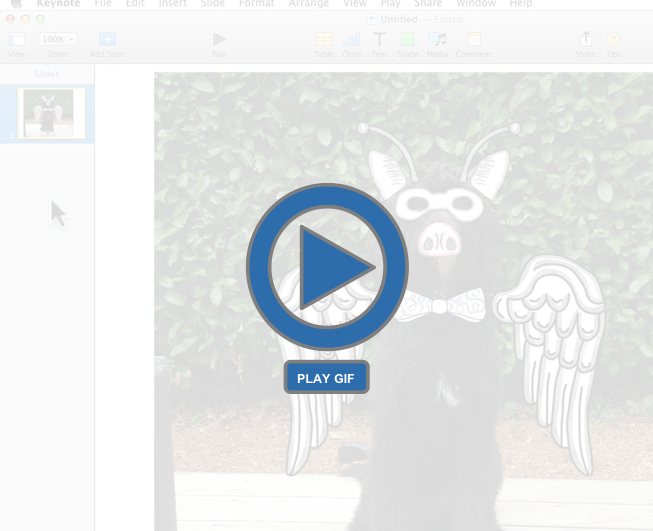
Using Keynote to save a slide as an image:
- Open the slide with your creature
- Go to File --> Export to--> Image
- Use Format JPG or PNG and click "Next..."
- Save the image on your computer
This animation shows you the steps in Keynote:


